In this post, I will be demonstrating how to set up a blog like ksong.io using Hugo and host it on GitHub Pages. Whether you’re a beginner or an experienced developer, this guide will provide you with a comprehensive and easy-to-follow tutorial on creating and deploying your blog. By the end of this post, you will have a fully-functional blog that is ready to be shared with the world.

Prerequisites
Install Hugo & Git
Before you begin, you should have both Hugo and Git installed on your computer.
Create a New GitHub Repository
Next, you’ll need to go to GitHub Pages and follow the steps to create a new repository. Once that’s done, you can proceed to set up your blog using Hugo.
Setup a Blog Using Hugo
Create Your Site
To create your blog site, navigate to your newly created repository directory and use the following commands. This will serve as the primary directory for your blog, where you will store all of your configuration files and content.
hugo new site .
Add a theme of your choice. In this example, we’ll be using the PaperMod theme. By doing this, you’ll be able to easily manage and track changes to your blog’s code. Additionally, adding a theme will give your blog a polished and professional appearance right from the start.
git submodule add --depth=1 https://github.com/adityatelange/hugo-PaperMod.git themes/PaperMod
The next step is to create a config.toml file in the current directory and add the following code. This file will contain the basic configuration for your blog.
baseURL = 'http://example.org/'
languageCode = 'en-us'
title = 'My New Hugo Site'
theme = 'PaperMod'
You can check out the PaperMod tutorial to learn how to set up a more polished blog, which includes features like adding a profile page and enabling search, among others.
Write the First Post
Use the following command to generate your first blog post. This command will create a new file with a pre-defined format and structure, making it easy for you to start writing your content right away.
hugo new posts/my-first-post.md
To preview your blog site, you can host it locally on your machine using the following command. This will allow you to view your blog as it would appear online, without having to publish it to GitHub Pages
hugo server -D
Host the Blog on GitHub Pages
Now you have your blog ready to deploy. Just use following command to add, commit and push to GitHub
Create an Access Token
Go to the settings page on GitHub to create a fine-grained personal access token.
Create a Repository Secret
Then, go to your repository on GitHub and select Settings. Under Secrets and variables, select Actions and then click New repository secret. Paste the token you just created in the previous step and name it GITHUBACTION.
Setup GitHub Actions
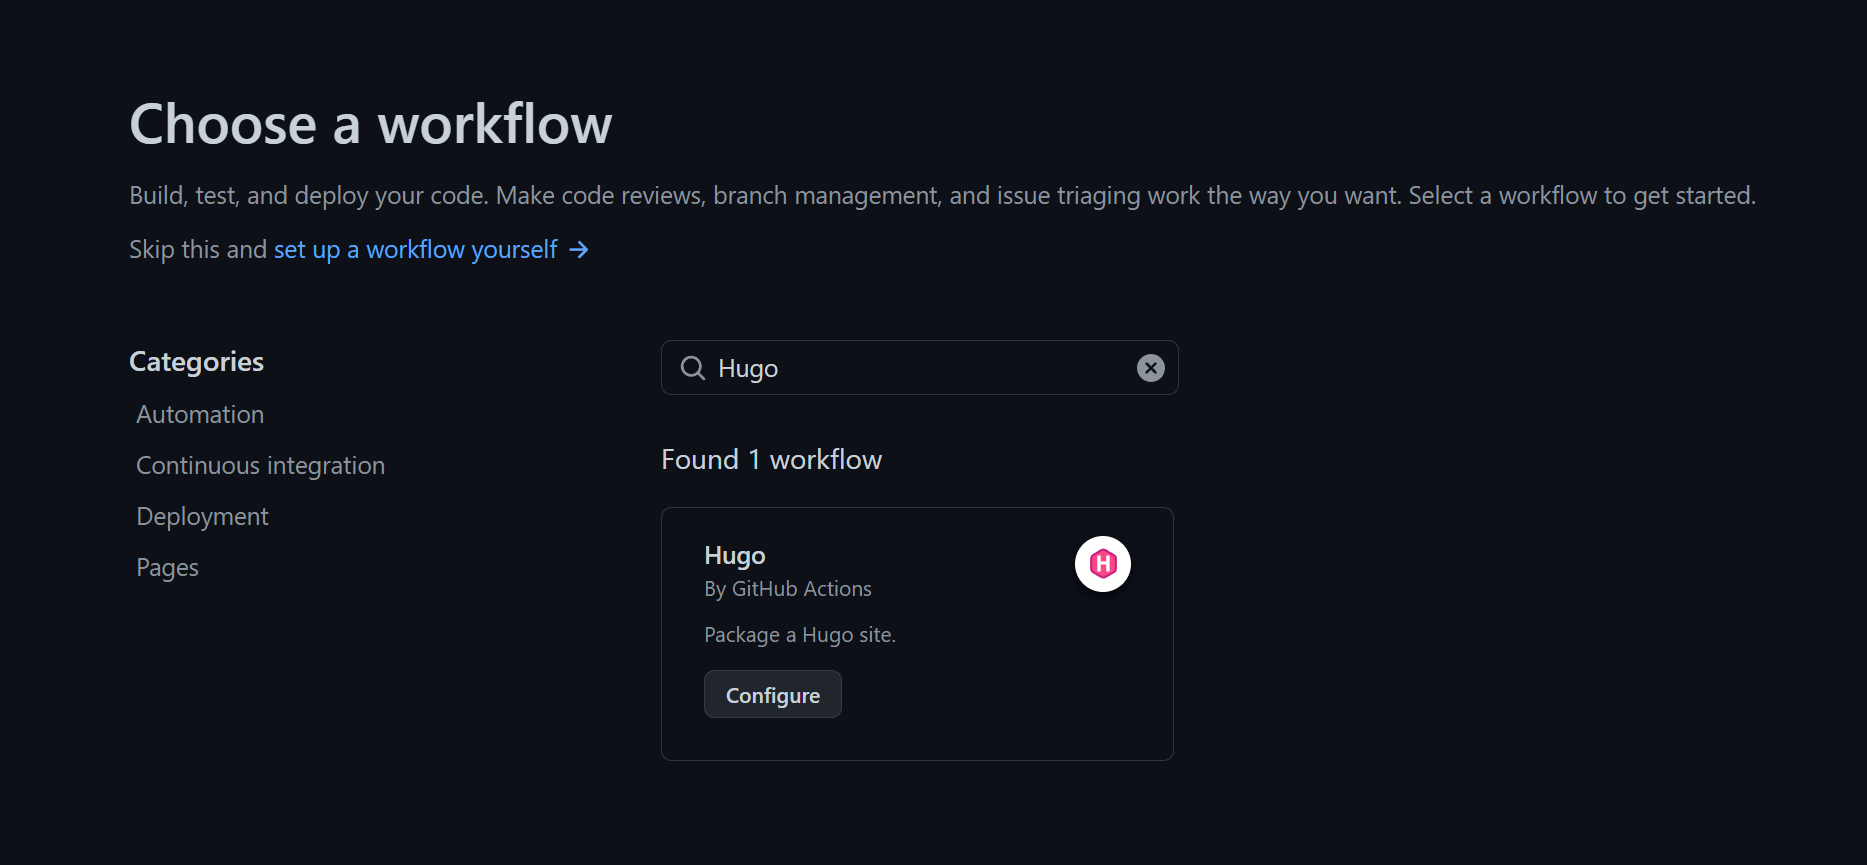
Then, go to your repository on GitHub and select the Actions tab. Click on the New workflow button, and search for the “Hugo” workflow. Click Configure and change the file name to gh-pages.yml.

Next, paste the following YAML configuration to gh-pages.yml, and then click Start commit
name: Deploy Hugo site to Pages
on:
  push:
    branches: ["main"]
  workflow_dispatch:
concurrency:
  group: "pages"
  cancel-in-progress: true
defaults:
  run:
    shell: bash
jobs:
  deploy:
    runs-on: ubuntu-latest
    steps:
      - uses: actions/checkout@v3
        with:
          submodules: true
          fetch-depth: 0
      - name: Setup Hugo
        uses: peaceiris/actions-hugo@v2
        with:
          hugo-version: "latest"
      - name: Build Site
        run: hugo --minify
      - name: Deploy
        uses: peaceiris/actions-gh-pages@v3
        if: github.ref == 'refs/heads/main'
        with:
          github_token: ${{ secrets.GITHUBACTION }}
          publish_dir: ./public
In this setup, every time you push to the main branch, it will trigger the GitHub action that automatically builds and pushes to the gh-pages branch.
Next, go to the Settings tab and click on Pages. In the Build and deployment - Branch section, select the gh-pages branch with /(root) as the source.
Conclusion
Congratulations! You now have your first blog site up and running. By following these steps, you have successfully set up a blog using Hugo and deployed it to GitHub Pages. From here, you can continue customizing and refining your blog, adding new content, and engaging with your readers. We hope this guide has been helpful to you and wish you the best of luck with your new blog!
If you would like to connect with me or show your support, you can follow me on X or buy me a coffee!
